A few weeks ago, the new version of Next.js, version 13, was released. In this article, we will be creating a Next.js project infrastructure with the new version.
Before we start, let’s learn what Next.js is.
What is Next.js 13?
Next.js is an open source web development framework developed by Vercel that enables React-based web applications to create server-side rendering and static websites.
What Can I Do With Next.js 13?
With this React library, you can develop web applications with SSR (Server Side Rendering) processes. In this way, you can develop a project that is both performant and suitable for Search engine optimization (SEO). You can do the same operations with React, but this is a situation that requires extreme configuration. With Next.js, you get rid of these configuration operations.
Some of the Highlights of Next.js
- Image optimization
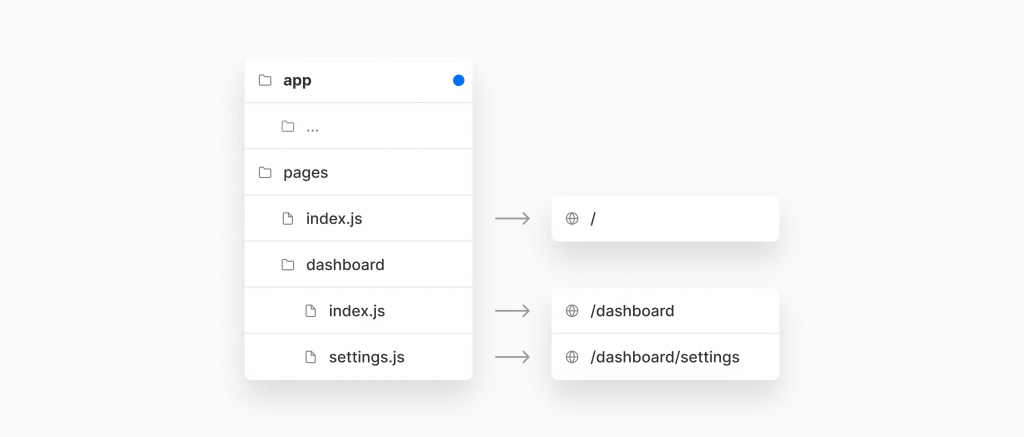
- Page-based routing system (route system with filename)
- SSR(Server Side Rendering) and SSG(Server Side Generation)
- Built-in CSS and Sass support
- TypeScript support
- Fast refresh with file save
- Code division
- Dynamic components
- Meta Tags (SEO compatibility)
Now let’s prepare the installation and structure of the project.
Next.js Project Setup
Now we will create our project here. First, let’s open up our terminal. I’m going to install it on the desktop. You can start the installation with the following command.
npx create-next-app@latest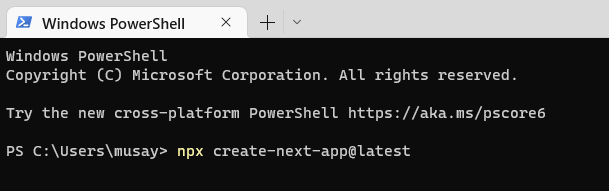
When the installation starts, it will ask you 3 questions, now let’s look at them.
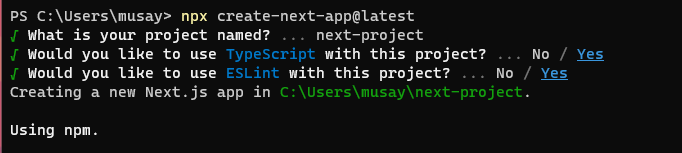
- Question 1: It asks you to specify the project name. I set it as “next-project”.
- Question 2: It asks if you will use Typescript in the project. I said that I will use it by saying “yes”.
- Question 3: It asks if you will use Eslint in the project. I said that I will use it by saying “yes”.
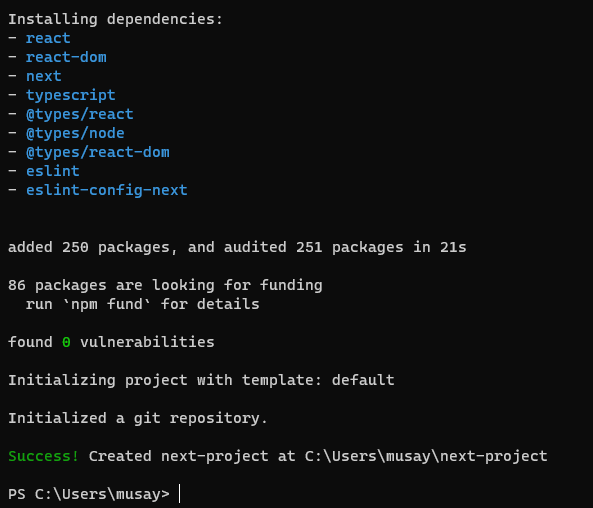
After answering these questions, the installation will start. Depending on your internet speed, the installation will complete in about 1 minute. After the installation is complete, you will get the following output in the terminal.
Now we can open our project in vscode editor. You can do this by using the following codes in the terminal or you can select and open the project by saying “Open Folder” from the file menu directly in vscode.
cd ./next-project/
code .
Now we have created our project. After that, it remains to edit the project folder structure as desired.
Next.js Folder Project Structure
We have created our project and now let’s look at the pure form of the project.
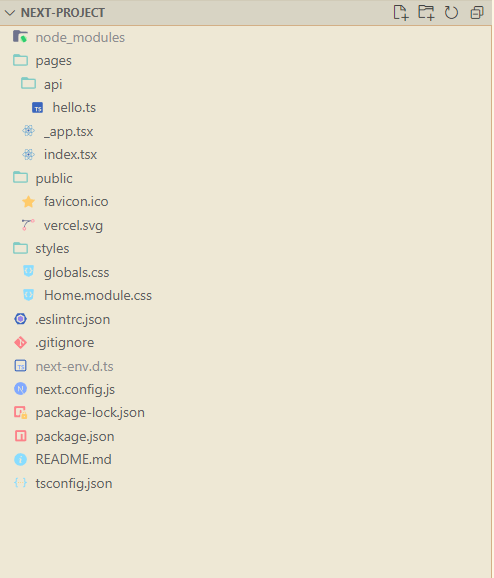
In the first project setup, Next js provides us with a simple template. Before we take a look at the template, let’s look at the files in the project structure that are presented to us in the initial setup.
- Pages Folder : This is the folder where pages are created. Each file created here is a page. (In Next.13, this structure has been changed to “app”. We need to make a small adjustment for it, I will explain this later in the blog post)
- Public Folder : It is the file where files such as images and videos that will be used in the project are kept.
- Styles Folder : It is the file where style files such as Css, Scss are kept.
- .eslintrc.json : A static code analysis tool to identify problematic patterns in JavaScript code. It is the file where the settings for this are kept. There will be a detailed blog post about it.
- .gitignore : A settings file used to define files, folders and subfolders that will not be added to the Git repository.
- next.env.d.ts : This file allows Next.js types to be imported by the TypeScript compiler.
- next.config.js : Used to edit settings used in the next.js server and build stages. (Avoid using new JavaScript features that are not available in your target Node.js version. next.config.js will not be compiled by Webpack, Babel or TypeScript.)
- package-lock.json : an automatically generated file for all operations when npm modifies either the node_modules tree or package.json.
- package.json : A file containing information about the project.
- README.md : A text file with information about the project. It is a standard file found in every project.
- tsconfig.json : A file used to create the layout of the project structure.
Yes, we have learned what the folders and files created in the project setup above are for. But some structures have changed with Nextjs 13, let’s take a look at them.
Change in File Structure
Nexjs 13 pages structure has been changed to keep up with react. But since this is still in beta, we need to make a small setting adjustment here. You can read the next js documentation for detailed information. I will summarize.
The first thing you need to do is to create a folder called app in the project home directory as below.
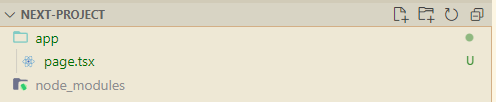
Then we create a file called page.tsx inside. You can write the following codes inside.
import React from "react";

const Page = () => {
	return (
		<>
			<div>Page</div>
		</>
	);
};

export default Page;
Now we can delete the pages folder completely. Then, as a final edit, we edit the ” next.config.js” file as follows. We do not forget to save the files. ?
/** @type {import('next').NextConfig} */
const nextConfig = {
  reactStrictMode: true,
  swcMinify: true,
  experimental: {
    appDir:true
  }
}

module.exports = nextConfig
After that, all we need to do is run our project using the “npm run dev” command.
When running the project, it may give an output like below in the terminal. Since the app structure is in beta, the nextjs makers will be asking you for feedback .? In our project, nextjs detected a typescript. tsconfig.json file was automatically edited.
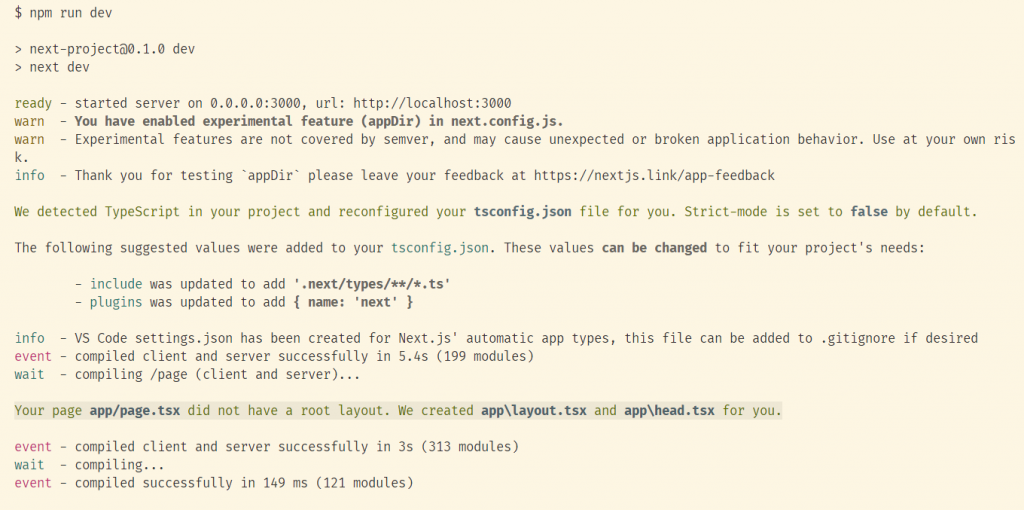
Finally, we also needed to create layout.tsx and head.tsx files in the app file, and next.js automatically creates them if these files are not present when the project is run. Let’s look at the codes in them.
export default function RootLayout({
  children,
}: {
  children: React.ReactNode
}) {
  return (
    <html>
      <head />
      <body>{children}</body>
    </html>
  )
}
export default function Head() {
  return (
    <>
      <title></title>
      <meta content="width=device-width, initial-scale=1" name="viewport" />
      <link rel="icon" href="/favicon.ico" />
    </>
  )
}
Yes, we have come to the end of this blog post. In this article, I have created a project structure with the 13th version of Next.js. See you in my next blog post. Goodbye.